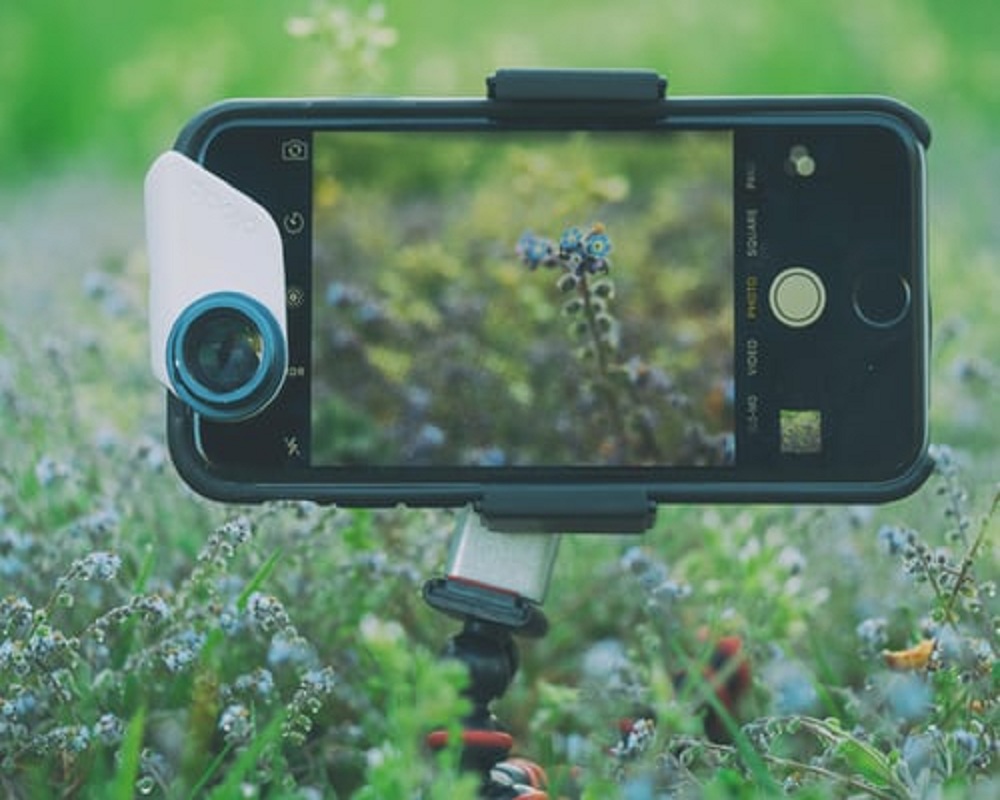
Iphone Photography: How to Take a Professional Picture with Your Iphone

The iPhone is one of the most fantastic devices great for taking pictures. It has excellent software and very easy to use. Whether you use it to take your everyday pictures or you are a content creator and you want to improve your videos and pictures these techniques will help you to be more creative and capture great images. Read on as Mayur Rele a cloud automation expert with a great passion for photography explains how to take a professional picture with your iPhone.
Experiment with the functions
Just like every other camera, the iPhone built-in camera has different functions that you can experiment with. Increase or decrease your camera exposure by tapping and holding the sun icon on any part of your scene and drag it up and down to your desired exposure. Snap from different angles to know the perfect angle for every image. Adjust your camera focus to know what works for you. Also, you don’t need to get it right at the beginning, but with consistency and focus, you will reach your goal.
Use the portrait mode
Moving close to your image and taking the picture with a portrait mode gives your picture a different look. It makes it bolder and its details can easily be seen. You can also use your phone portrait lighting mode to enhance your portrait pictures. The portrait lighting mode comes in five different lighting modes design to create professional studio lighting or background for your pictures no matter where you are in the world.
Understand how to use the lens
Understanding the effect of different iPhone camera lens helps you to know how to take perfect pictures with it. While a standard lens provides views that look natural as the human eye, the wide-angle lens allows you to capture pictures at a wider range, and it keeps your shot on focus no matter the distance.
Make it simple
It is often challenging to stay focus as anything can distract us and the same thing happens in photography. Always remember, you will be confused if you are capturing a lot of objects at the same time. Therefore, keep it simple at the beginning. Using one main subject in your shot will eliminate distraction and gives your picture a powerful impression.
Experiment with filters
You have probably played around with your camera filters when taking pictures. If not, you can access them by tapping the icon on the right corner of your iPhone camera. The filters give you the opportunity to change your picture background, body tone, and many more. Choosing the right filter can be difficult if you are very indecisive, but you don’t need to panic as you can always retrieve the original picture back by tapping the edit button.
Be creative with the shutter speed
Adjusting your iPhone shutter speed while shooting a moving subject adds creativity to your shot. For example, slowing the shutter allows you to display moving water as a sea of moving fluff. While speeding the shutter will help you freeze a jumping or moving subject.
Try a slow-motion video
One of the fun and fantastic features to try out in an iPhone built-in camera is the slow-motion function. This technique is used to record videos of moving subjects or objects such as water or dancing or action content.
Experiment with Panoramic shots
Panoramic features ignite your creativity. It helps you to elongate your field of view that allows you to capture the entire scene. Move your phone continuously while taking a pano and while shooting with tall buildings or the sky, the iPhone must be in vertical shape.
SHARE
Stay in touch
To be updated with all the latest news, offers and special announcements.


